How to use a sales pipeline: create deals and track stages

To use your pipeline, open Contacts, then Pipeline. Deals move through New, In talks, Proposal sent, Won and Lost. Select New deal to add one, drag it forward as it progresses, and use the plus to add your own stages.
| Time needed | 1 minute |
|---|---|
| What you need | Your V1CE account |
| Where in the app | Contacts > Pipeline |
Video transcript and chapters
Chapters
0:00 Introduction
0:15 Open Pipeline
0:19 Export or import deals
0:22 Add a deal
0:30 Drag it forward
0:33 Add custom stages
0:38 Run more than one pipeline
0:50 You're done

Transcript
Pipeline is where you track every deal from first chat to signed and paid.
Every deal moves through stages, new in talks, proposal sent, won or lost.
The total value in play is tracked live across every column.
Head to contacts then pipeline to see every deal you're working on.
You can export or import deals from the menu.
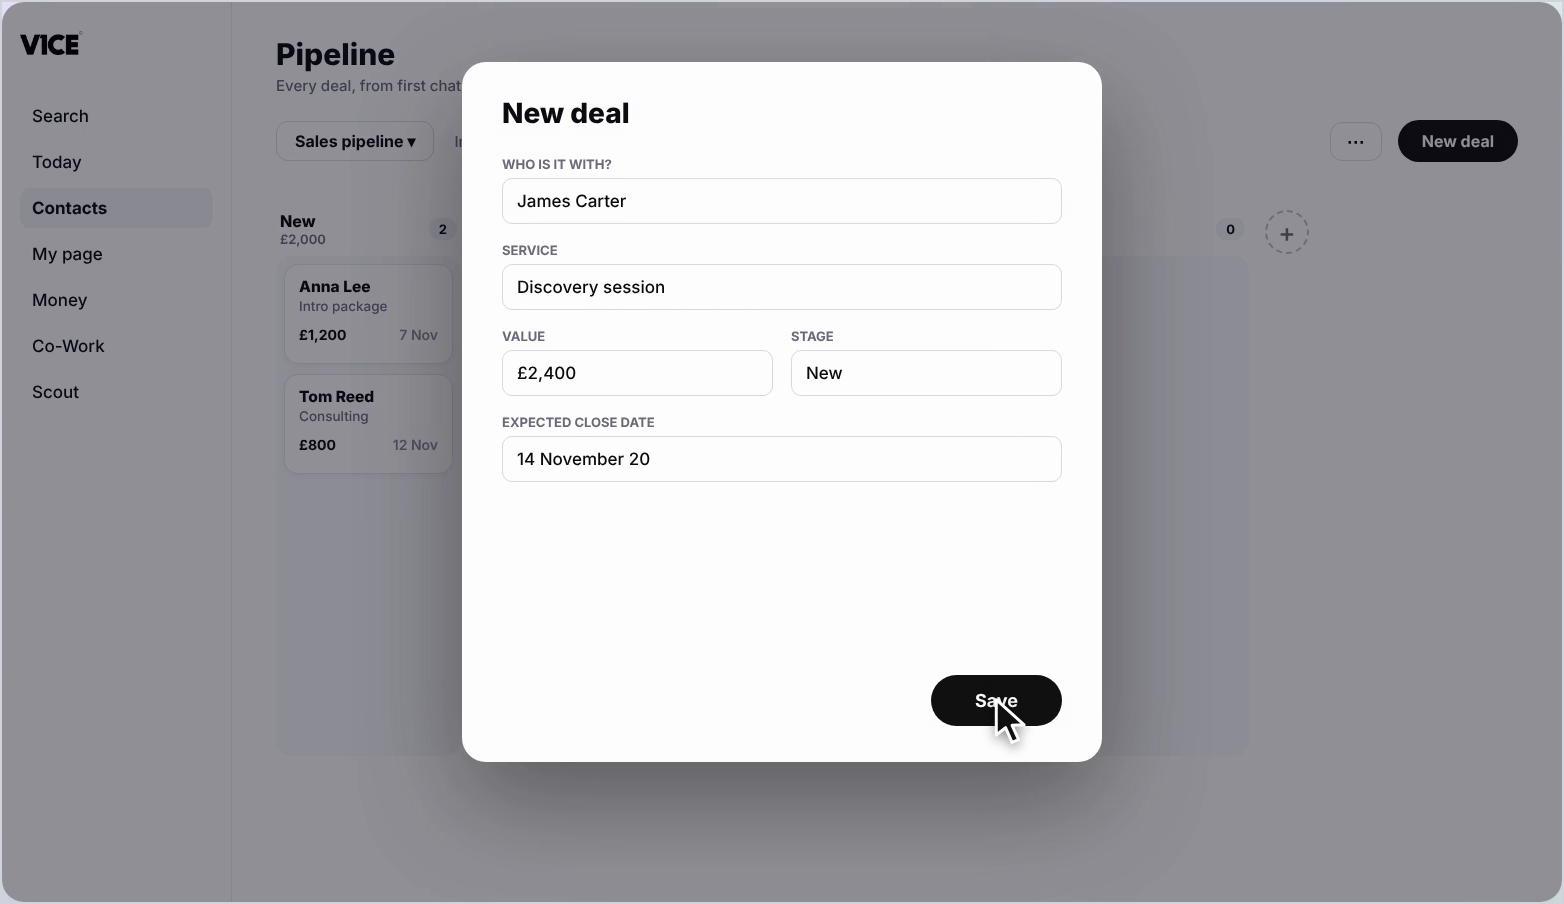
Select new deal, choose who it's with and the service they want,
then add the value, the stage and an expected close date.
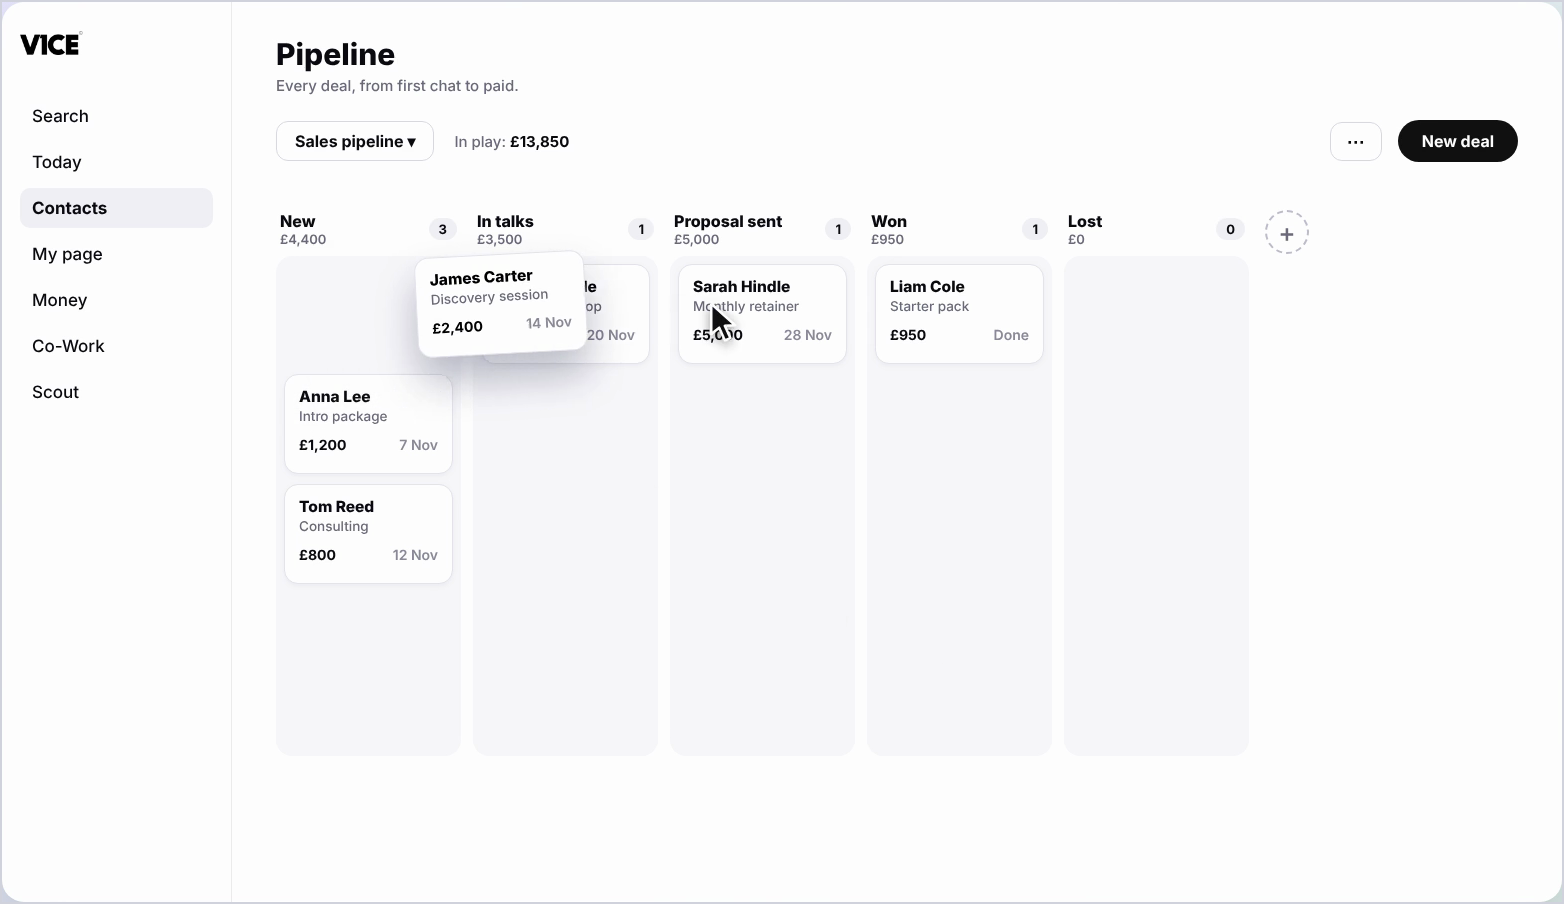
Drag a deal forward as it gets closer to Won.
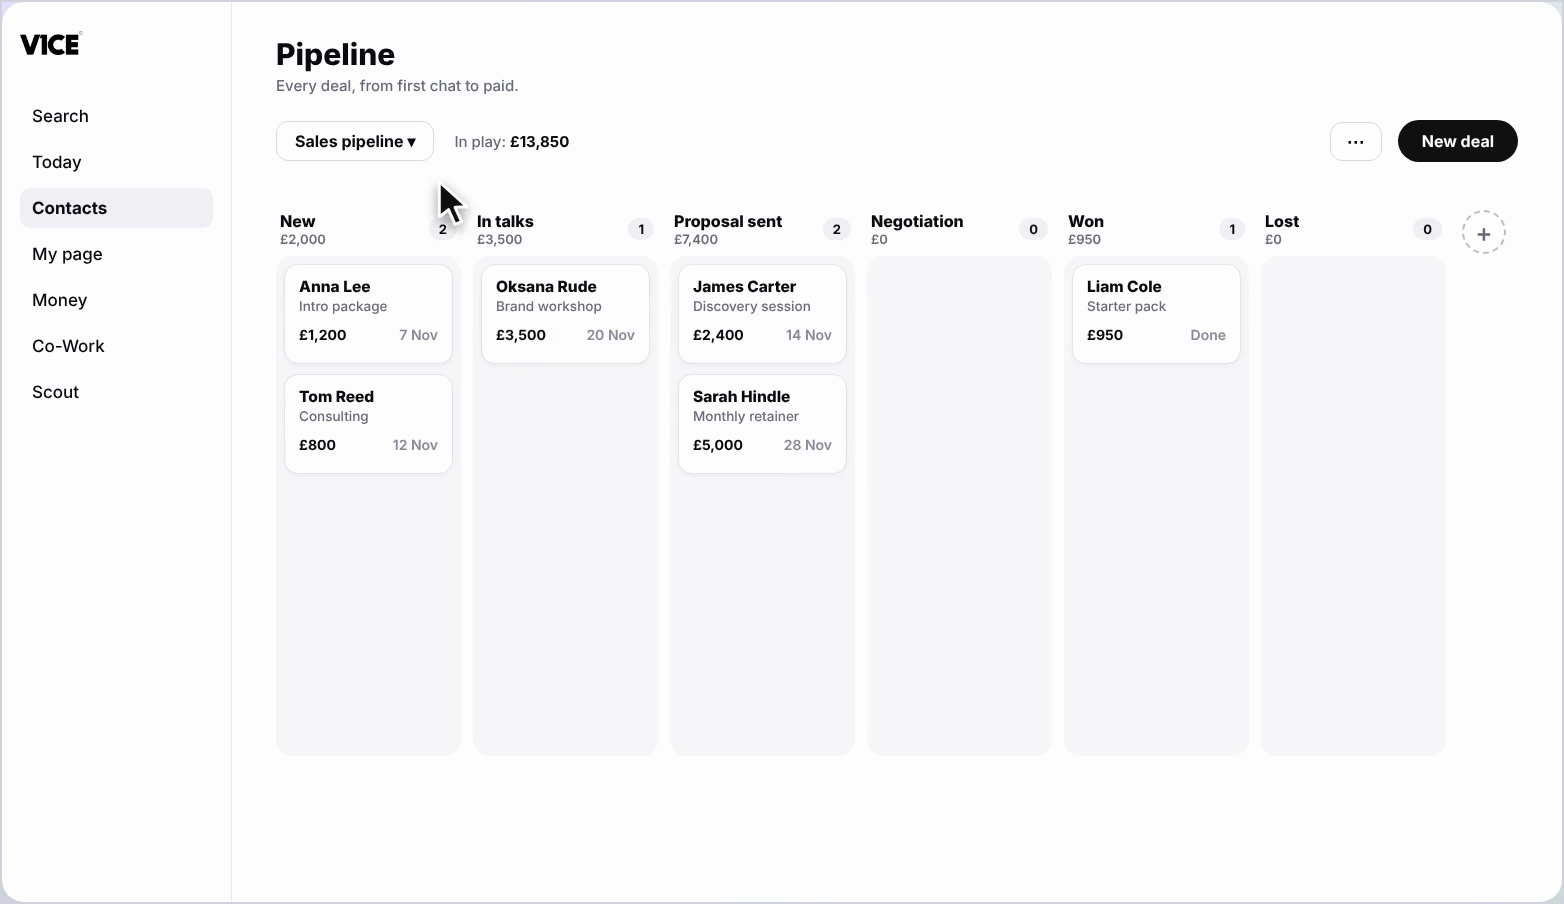
Select the plus next to your columns to add your own stages matching exactly how you sell.
Running more than one kind of business?
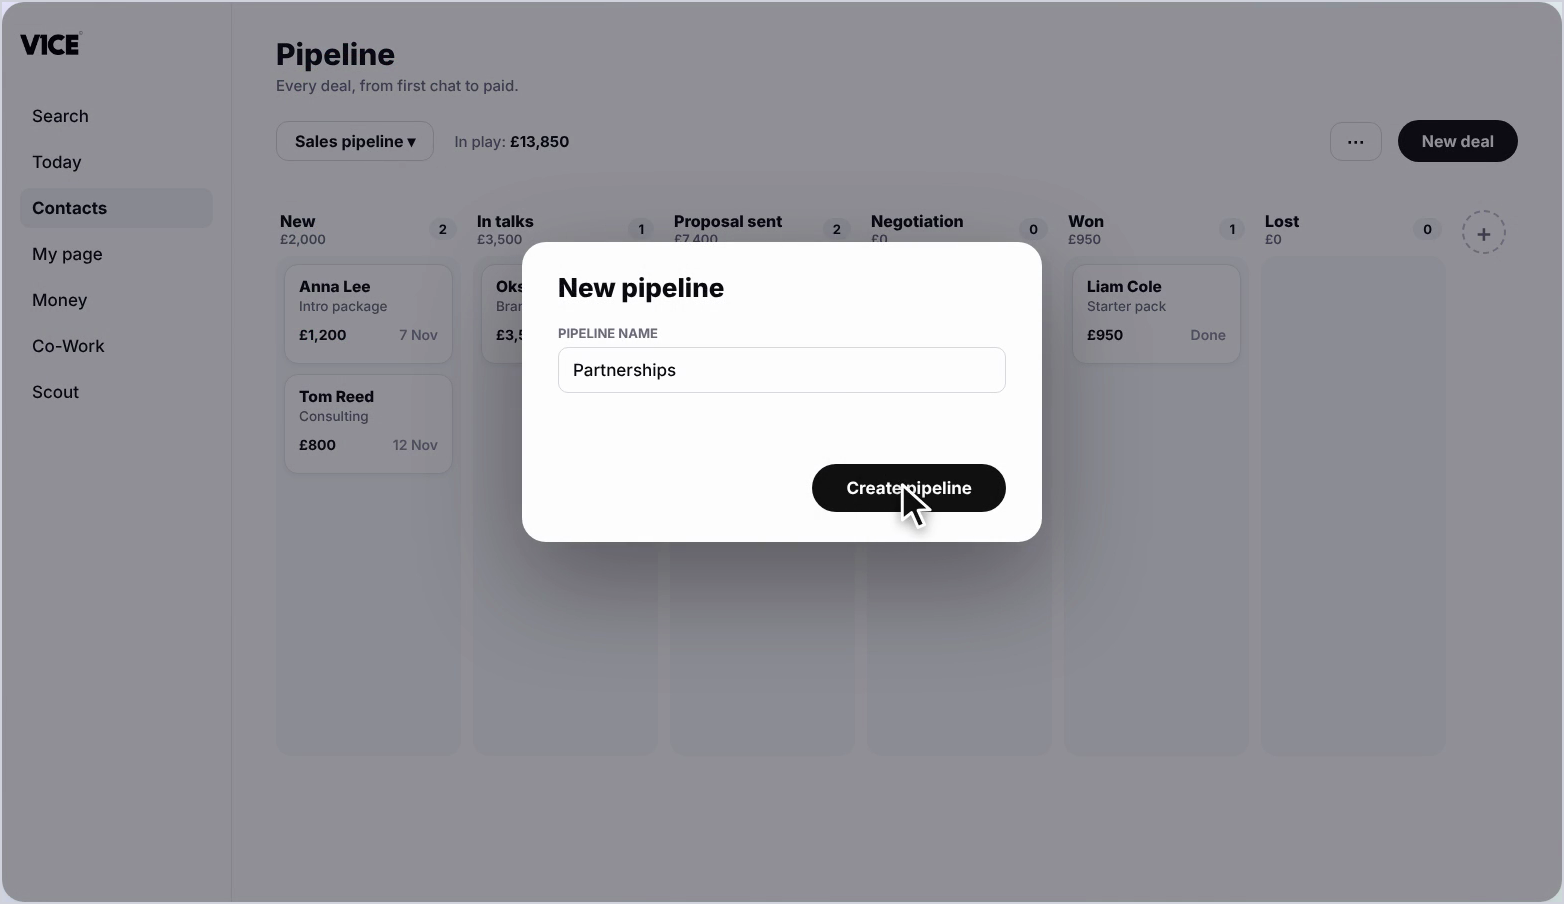
Switch pipeline from the drop down or create a new one in seconds.
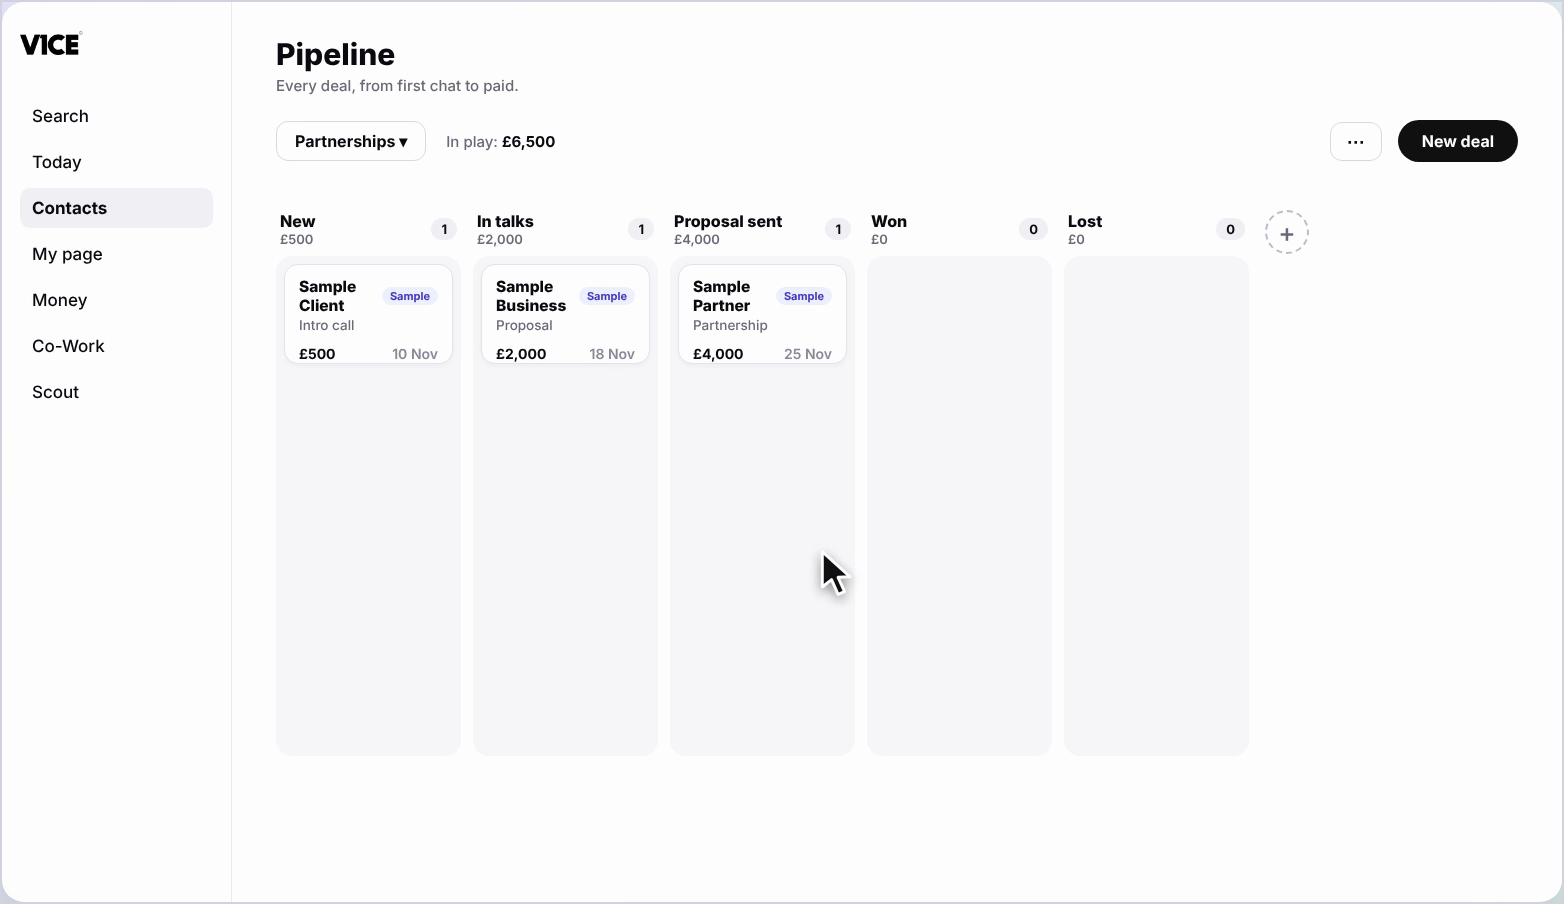
Every new pipeline starts with sample deals so you can see how it works before adding your own.
And just like that, every deal is tracked from first chat to signed and paid.
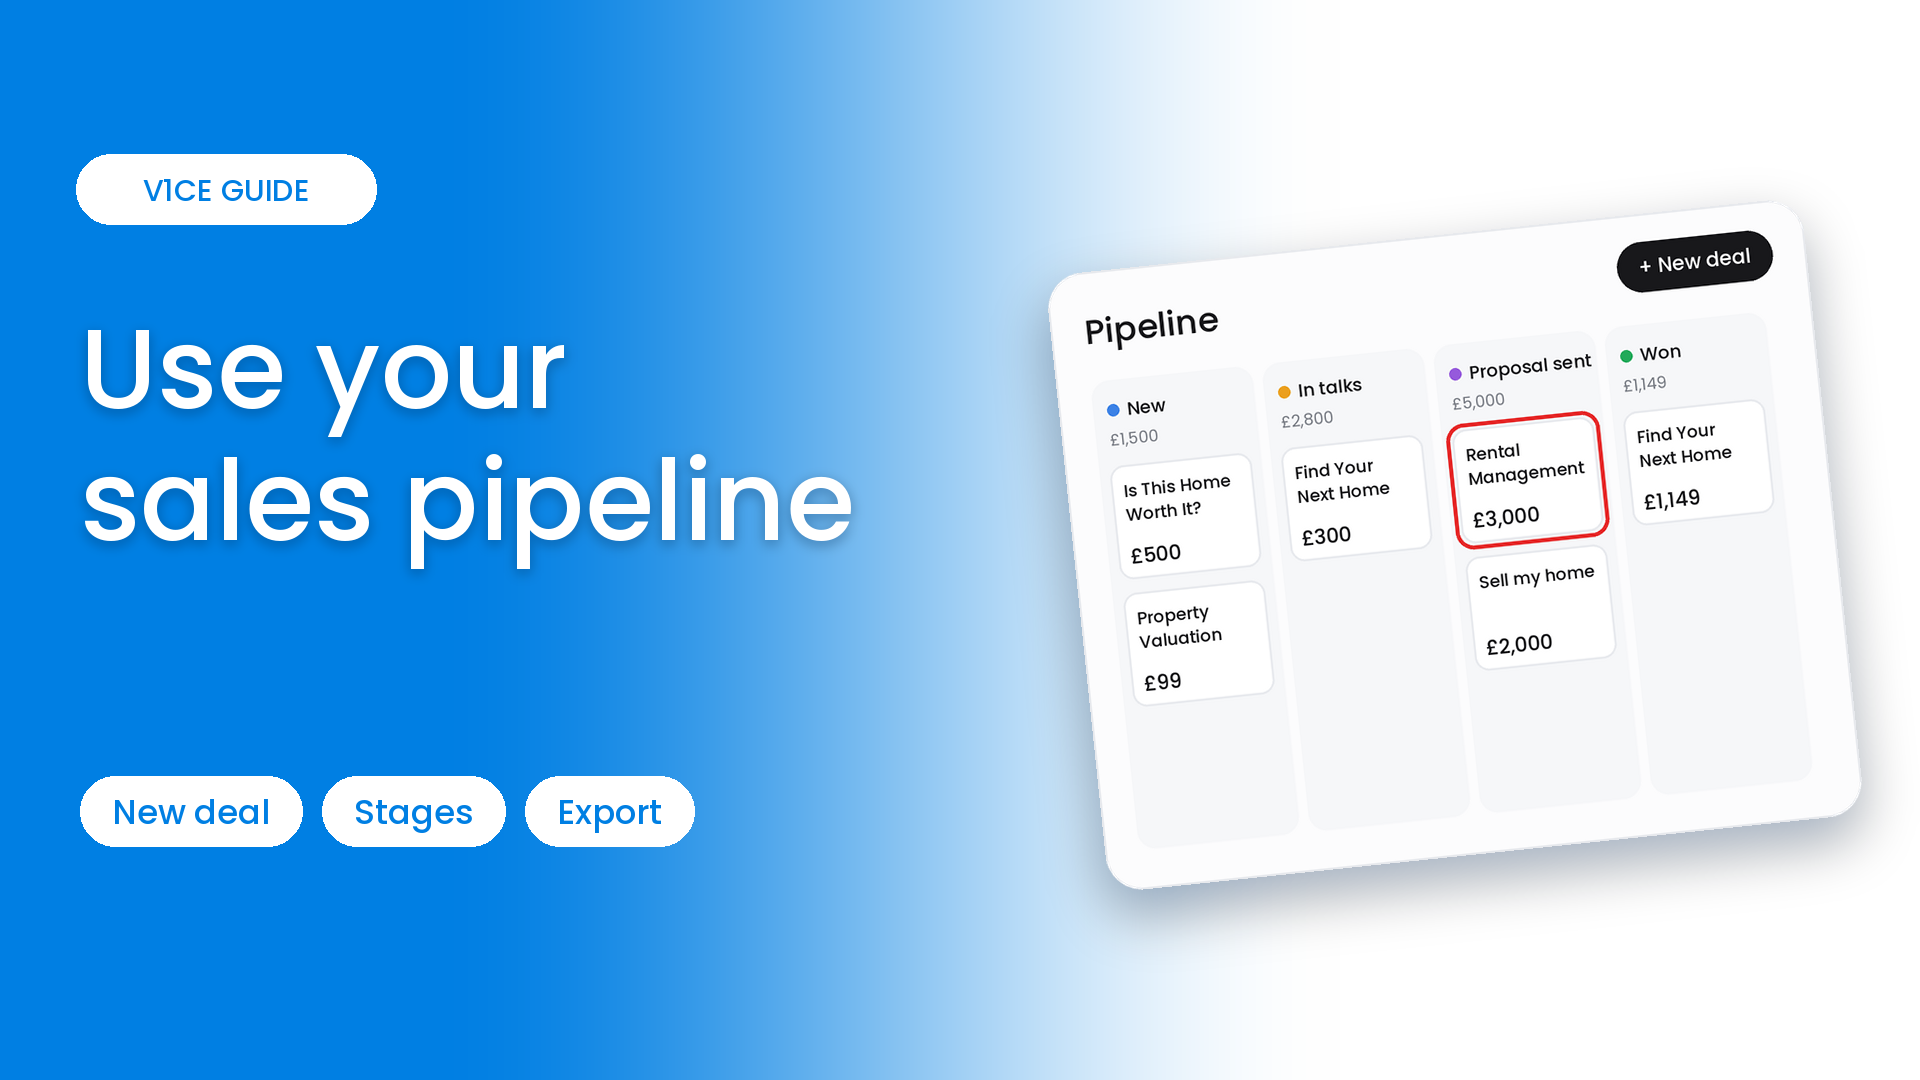
Pipeline is where you track every deal, from first chat to signed and paid.
This guide walks through your pipeline board, creating a deal, moving it forward, exporting, custom stages and running more than one pipeline.
Watch the video
See your deals at a glance
Step 1: Open Pipeline and read the board
Select Contacts in the left menu, then Pipeline. Deals move through stages: New, In talks, Proposal sent, Won and Lost, with the total value in play tracked live.
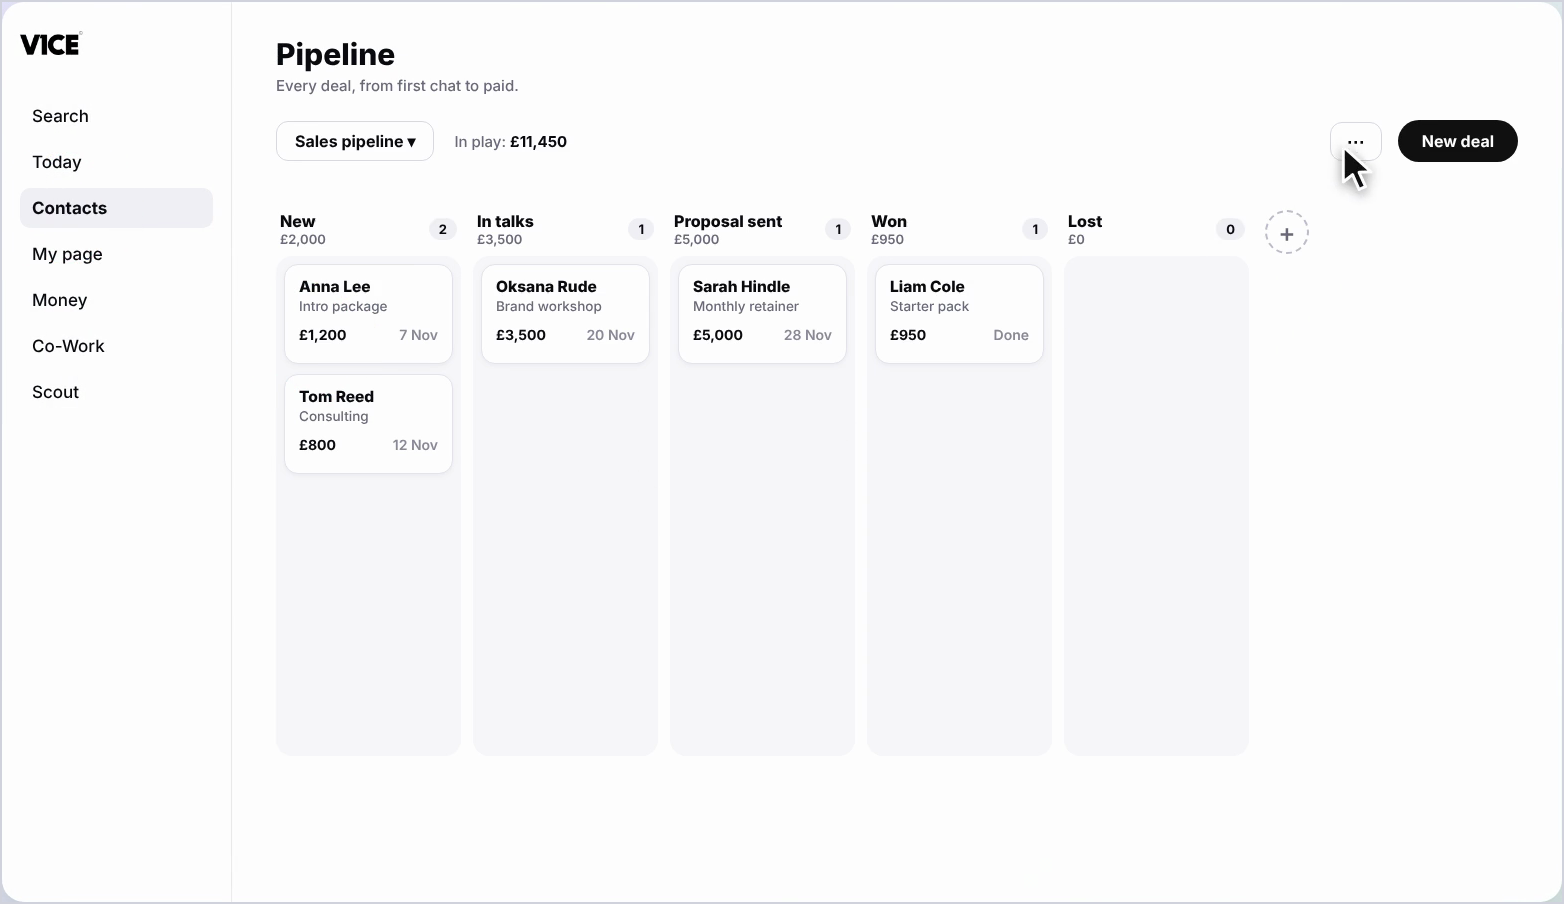
Step 2: Export or import your deals
Export your pipeline, or import deals from elsewhere, right from the same menu.
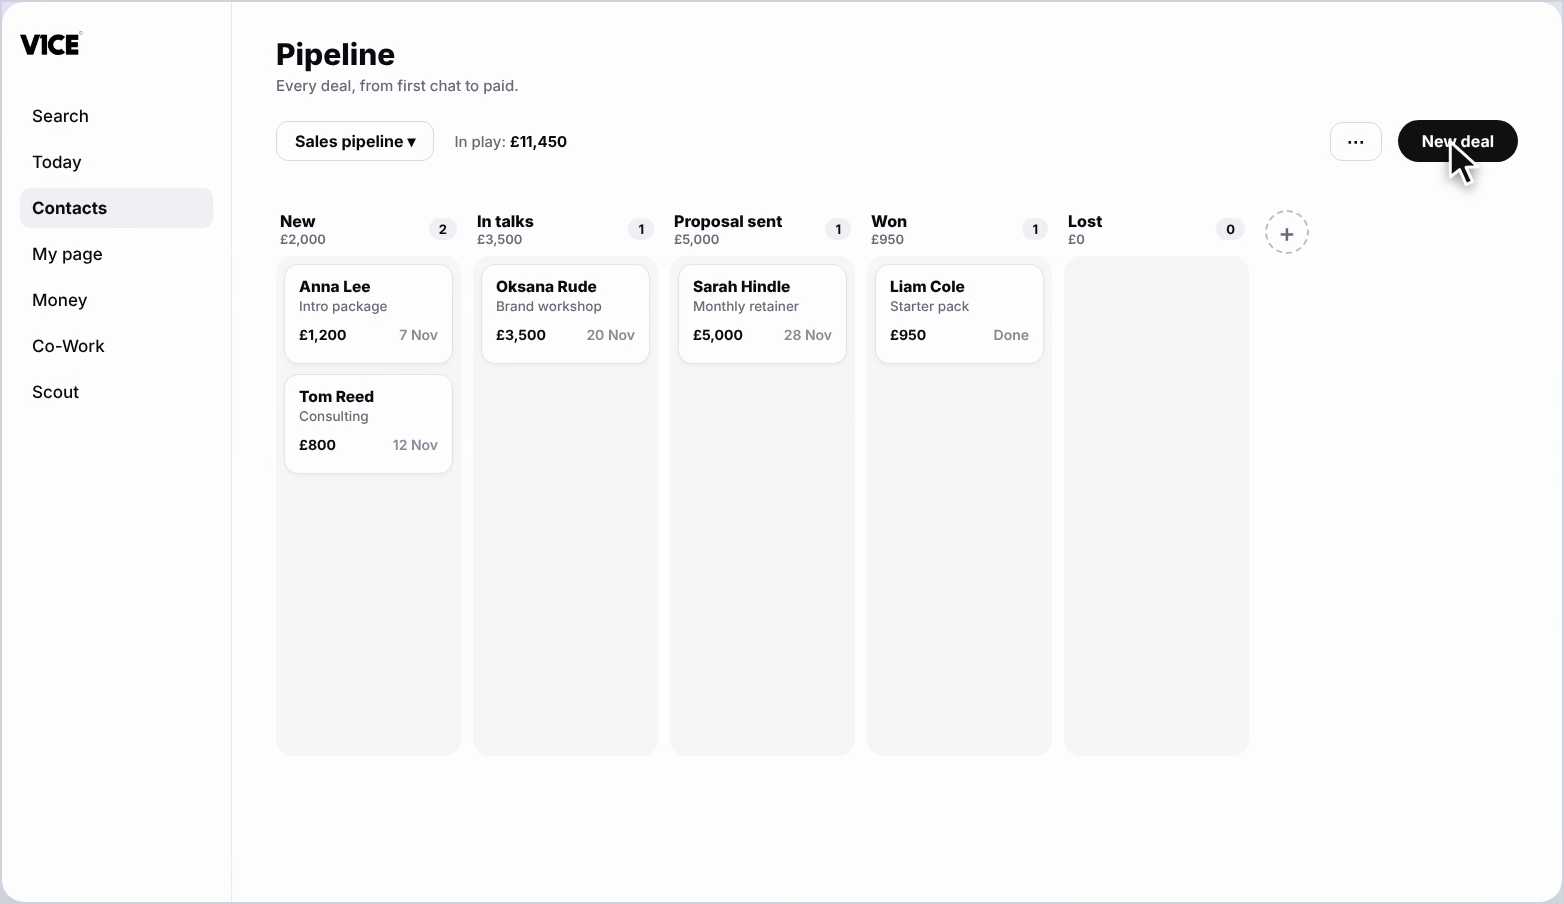
Add and move a deal
Step 3: Start a new deal
Select New deal, then choose who it is with and the service they are interested in.
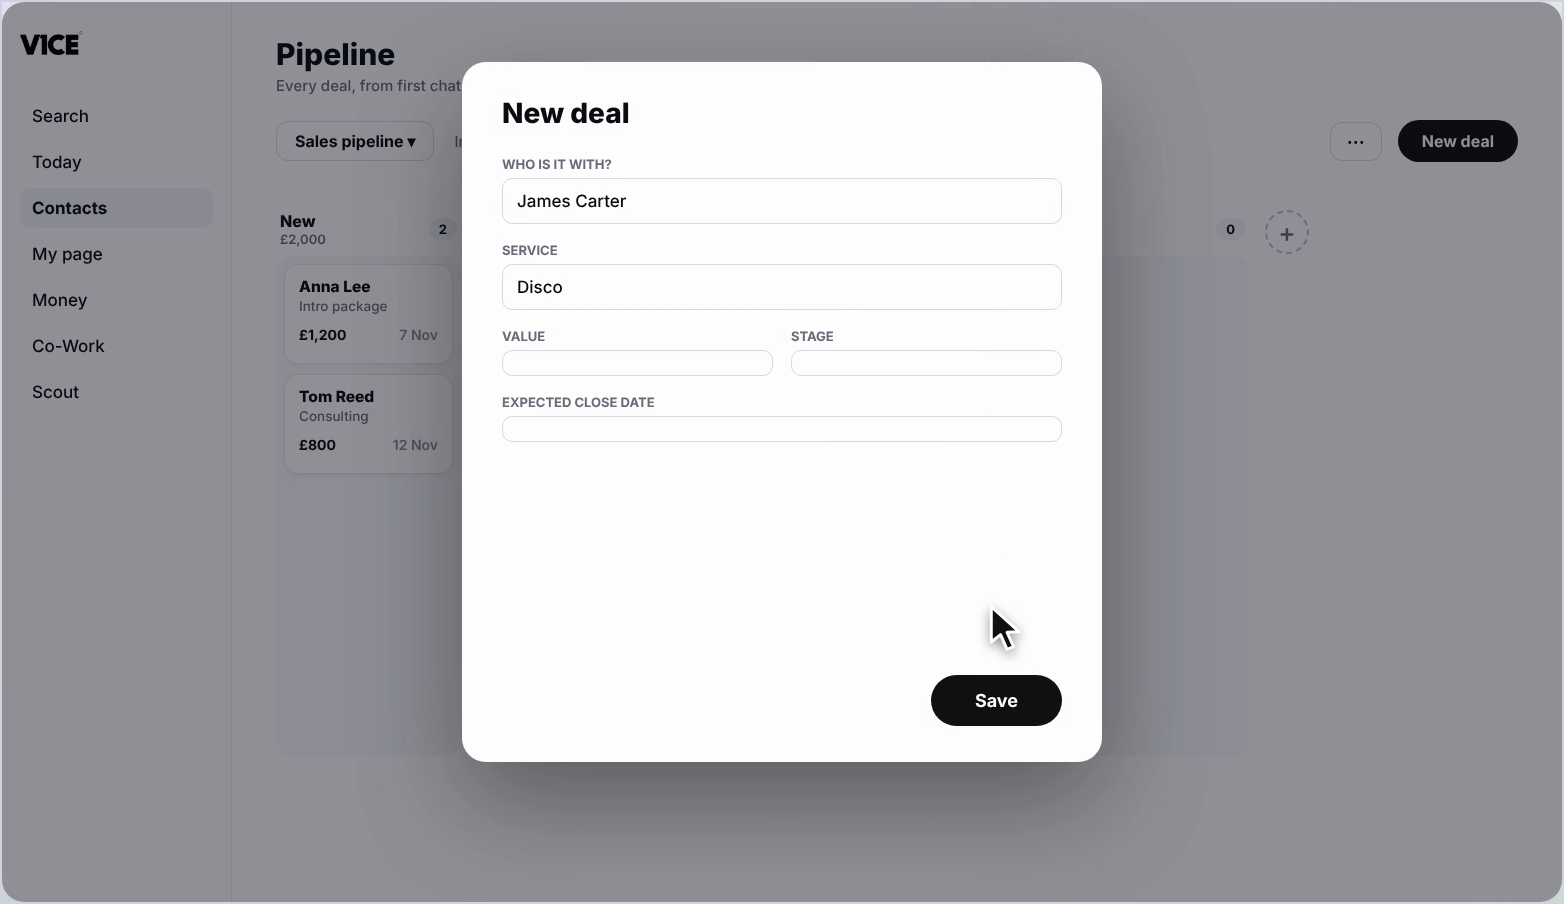
Step 4: Fill in the details
Add what it is worth, set the stage and an expected close date, then select Save.
Step 5: Drag it forward
Drag any deal forward as it moves closer to Won.
Make it your own
Step 6: Add a custom stage
Select the plus next to your columns to add your own stages, matching exactly how you sell.
Step 7: Switch between pipelines
Running more than one kind of business? Switch between pipelines from the dropdown at the top.
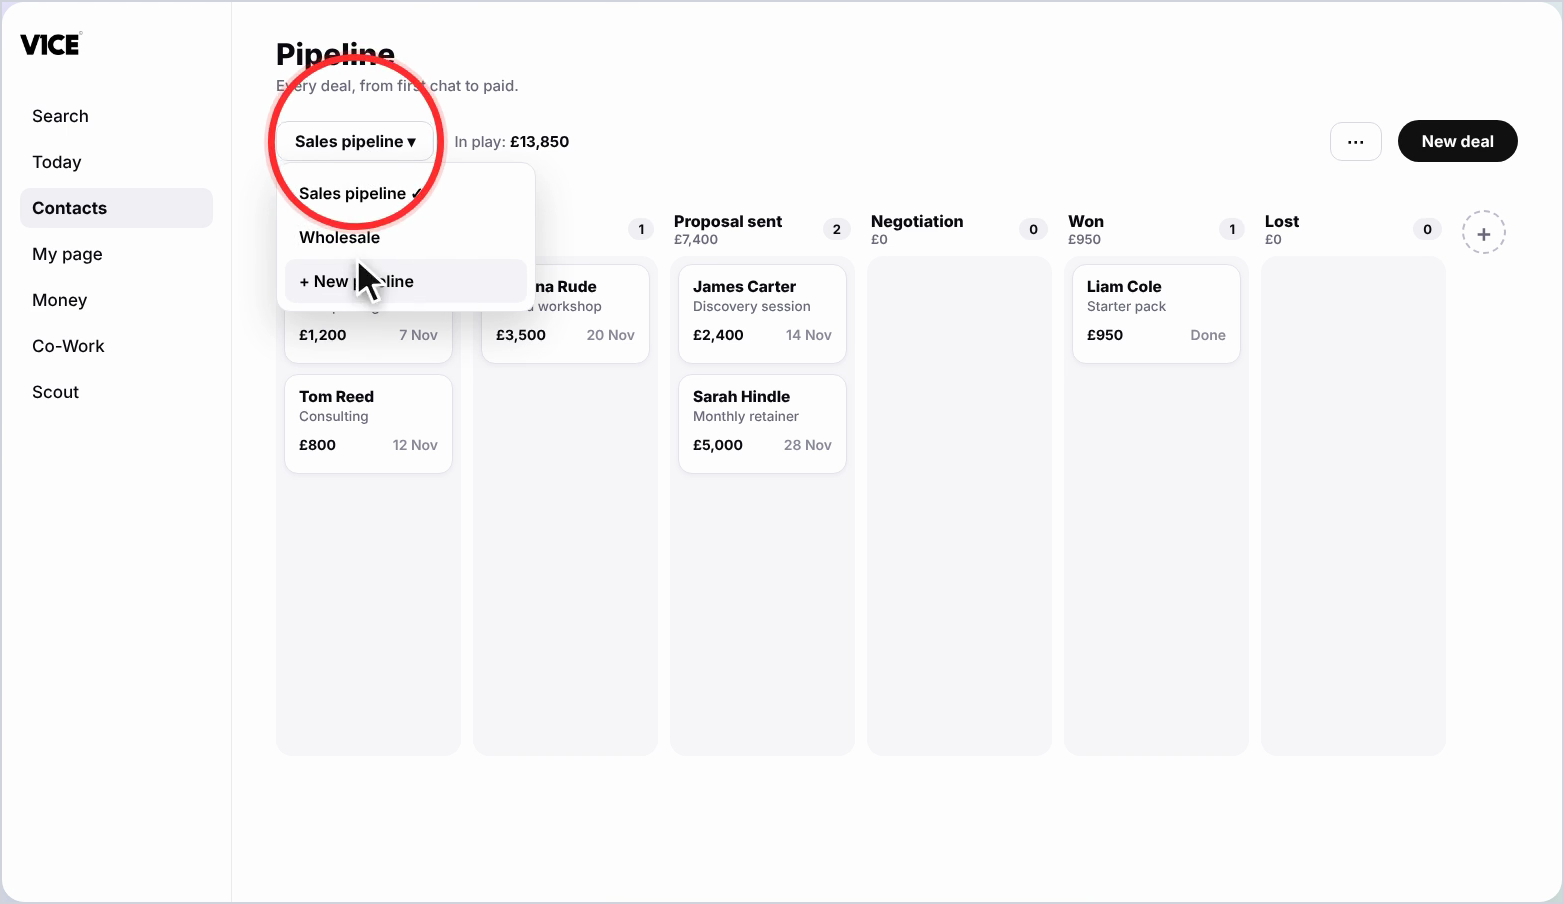
Step 8: Create a new pipeline
Create a brand new pipeline in seconds, named however you like.
Step 9: Learn from sample deals
Every new pipeline starts with sample deals, so you can see how it works before adding your own.
Good to know
- Add your first real deal the same way as always: who it is with, the service and what it is worth.
- Use custom stages to match exactly how you sell.
- Export your pipeline whenever you need it in another tool.
Frequently asked questions
What stages does the pipeline have?
New, In talks, Proposal sent, Won and Lost. The total value in play is tracked live across every column.
How do I add a deal?
Select New deal, choose who it is with and the service they want, then add the value, the stage and an expected close date.
Can I add my own stages?
Yes. Select the plus next to your columns to add your own stages.
Can I run more than one pipeline?
Yes. Switch pipelines from the dropdown, or create a new one in settings. Every new pipeline starts with sample deals so you can see how it works.