How to capture contacts from your page with Contact Exchange

To capture contacts from your page, open My page, then Pages and the Exchange tab, and turn on Contact Exchange. Choose which fields people share, make each optional or required, pick how the form appears and set your automatic follow-up.
| Time needed | 1 minute |
|---|---|
| What you need | Your V1CE account |
| Where in the app | My page > Pages > Exchange |
Video transcript and chapters
Chapters
0:00 Introduction
0:11 Open the Exchange tab
0:16 Turn on Contact Exchange
0:21 Add extra fields
0:25 Make a field optional or required
0:31 Choose how the form appears
0:36 Open more options
0:42 Set your follow-up
0:47 You're done

Transcript
Contact Capture lets visitors swap details with you straight from your page.
Switch it on, choose what people share, and decide what happens next.
Go to My Page, then Pages.
At the top, select the Exchange tab.
Turn on the Contact Exchange toggle.
Name and email are already on.
Select Show more fields to add extras like Job Title.
Use the dropdown next to a field to make it optional or required, like Company.
Choose Show immediately to ask first or floating button to let visitors browse.
Open more options to change the button wording and choose what happens after they submit.
Finally, choose whether your automatic follow-up goes out immediately.
That's Contact Capture. Every visitor can swap details with you.
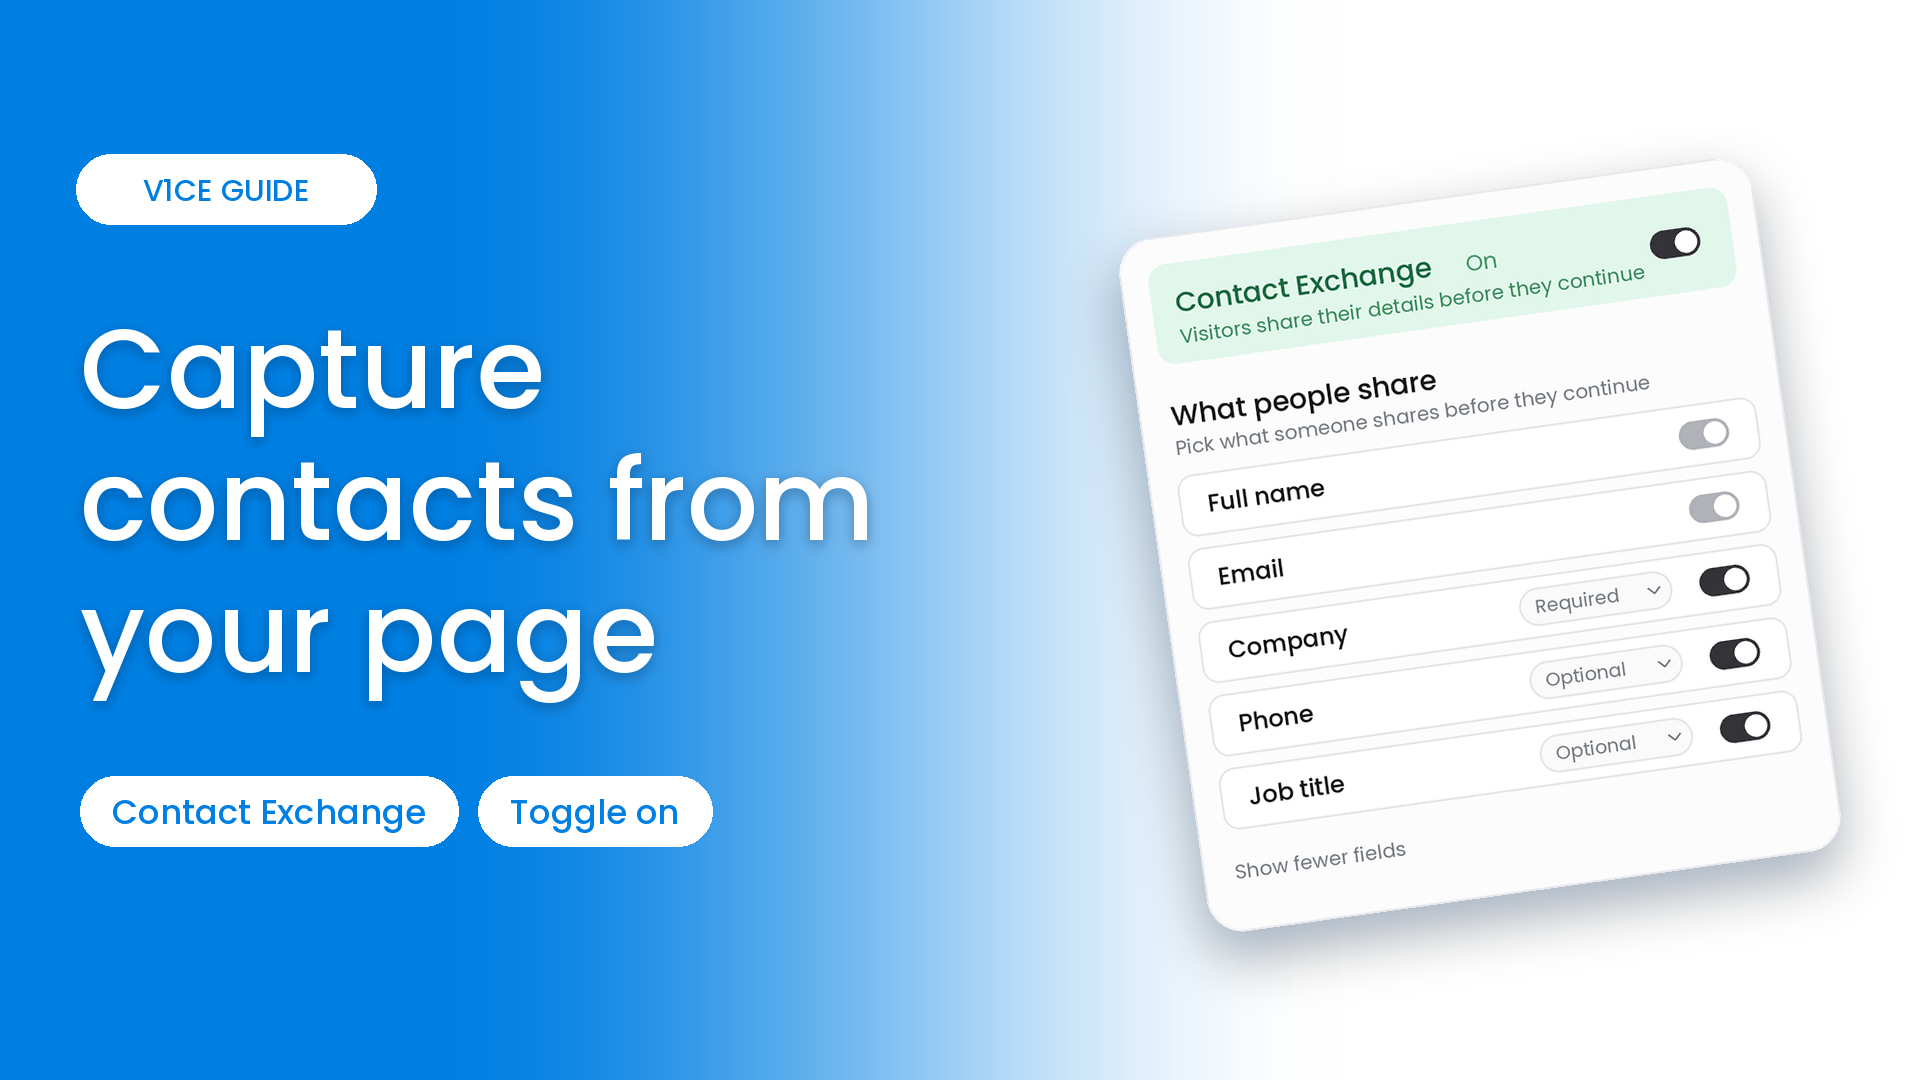
Contact capture lets visitors swap details with you straight from your page. They share theirs, you get them in your contacts, and your follow-up goes out automatically.
You choose which details people share, whether each one is optional or required, how the form appears and what happens after they submit.
Watch the video
Switch on Contact Exchange
Step 1: Go to My page, then Pages
Select My page in the left menu, then choose Pages.
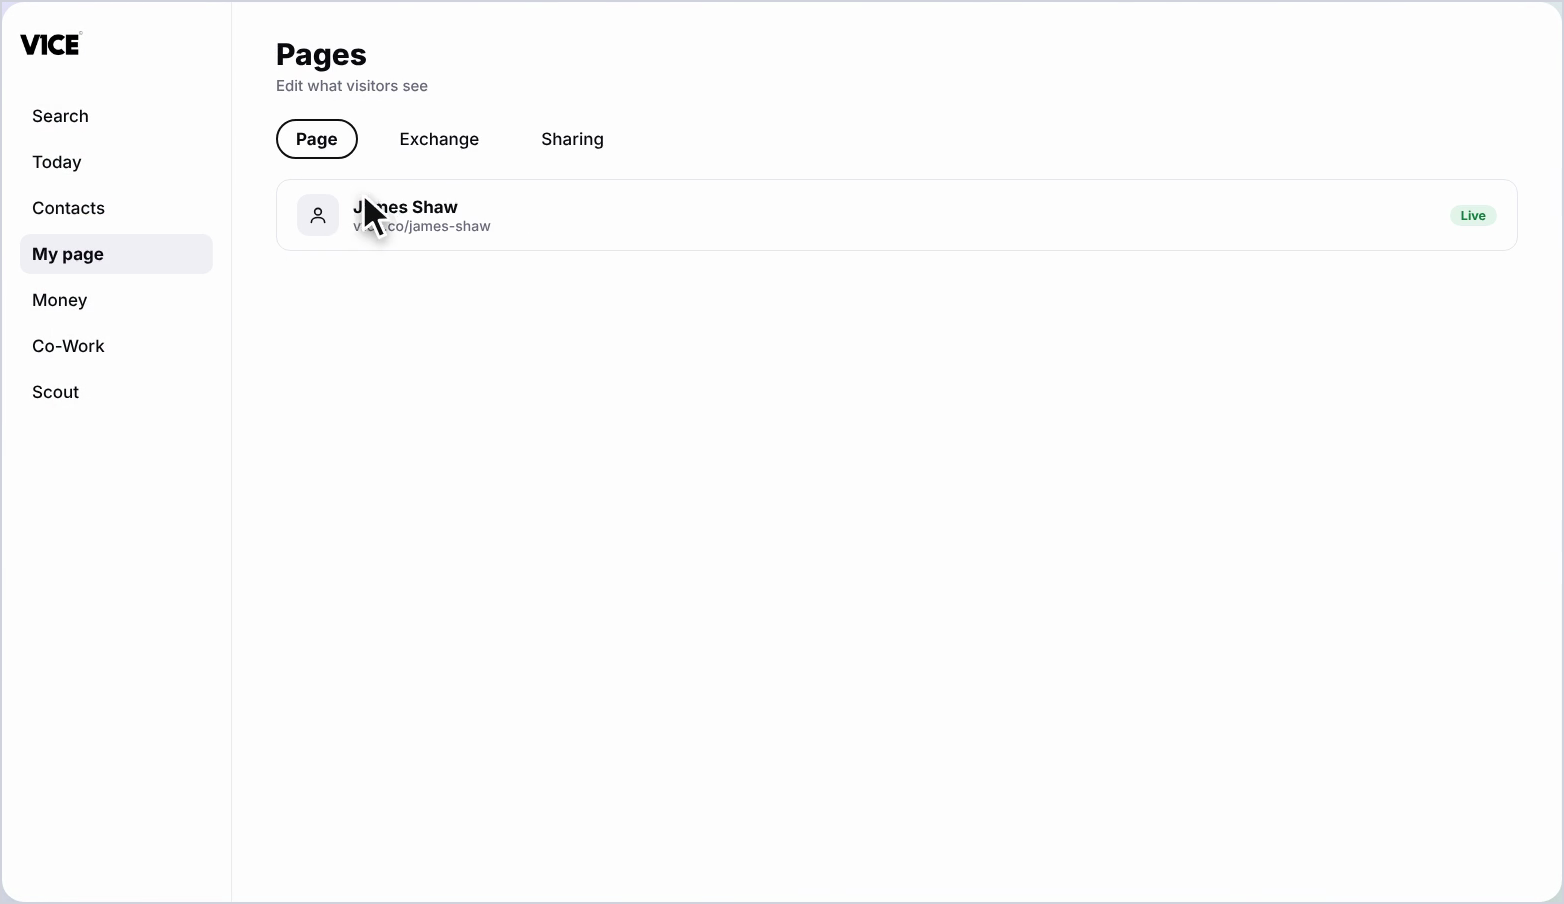
Step 2: Open the Exchange tab
At the top, select the Exchange tab.
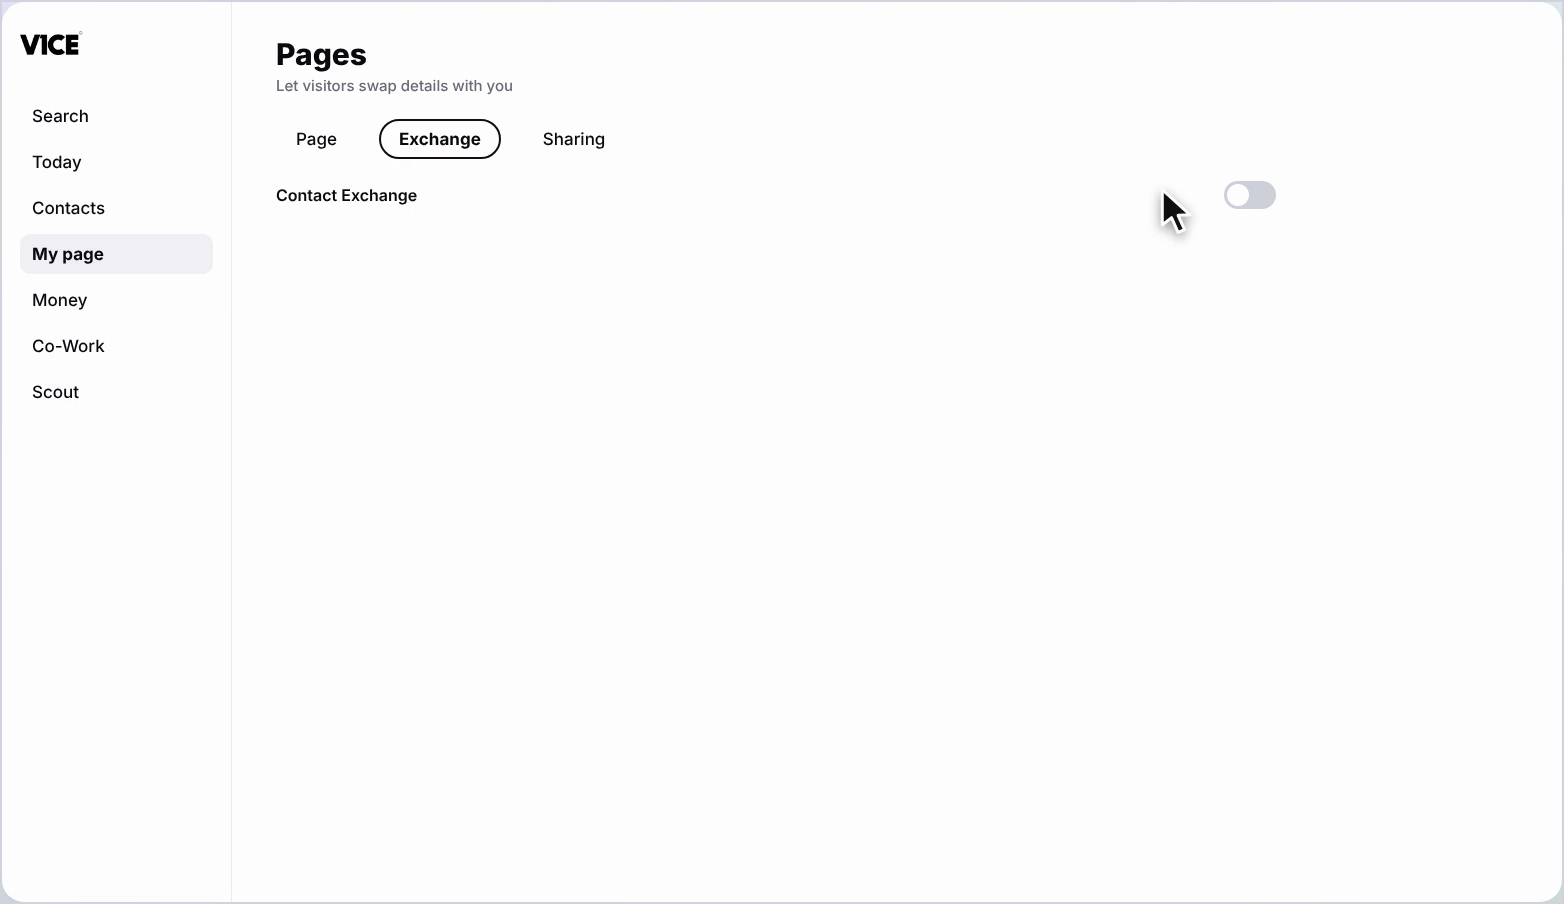
Step 3: Turn Contact Exchange on
Turn on the Contact Exchange toggle. Name and email are already on.
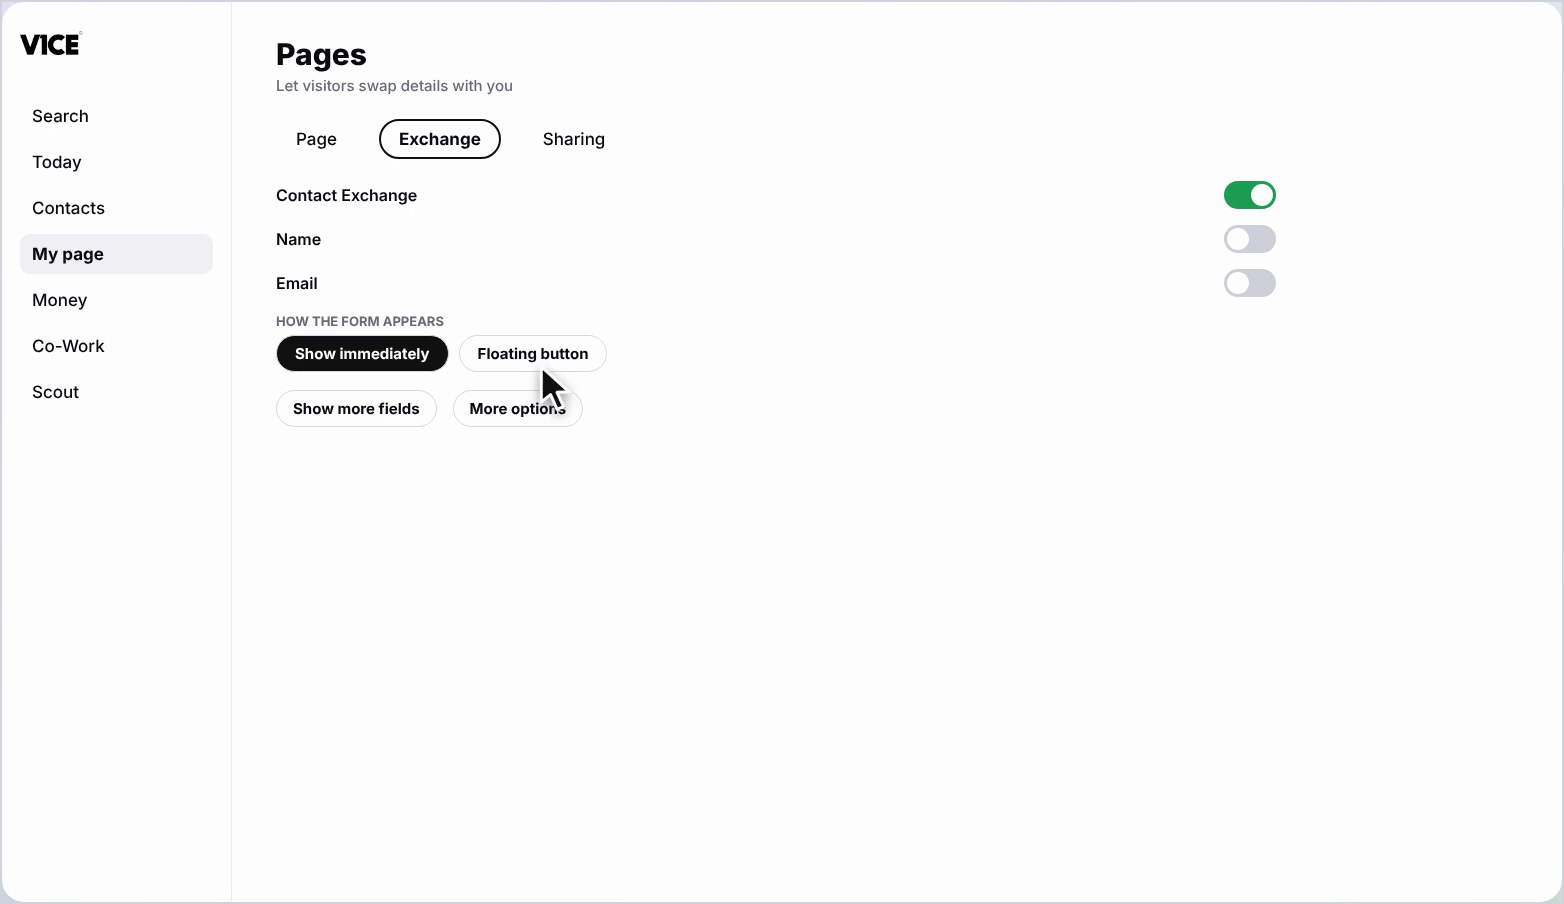
Choose what people share
Step 4: Add extra fields
Select Show more fields to add extras, like job title.
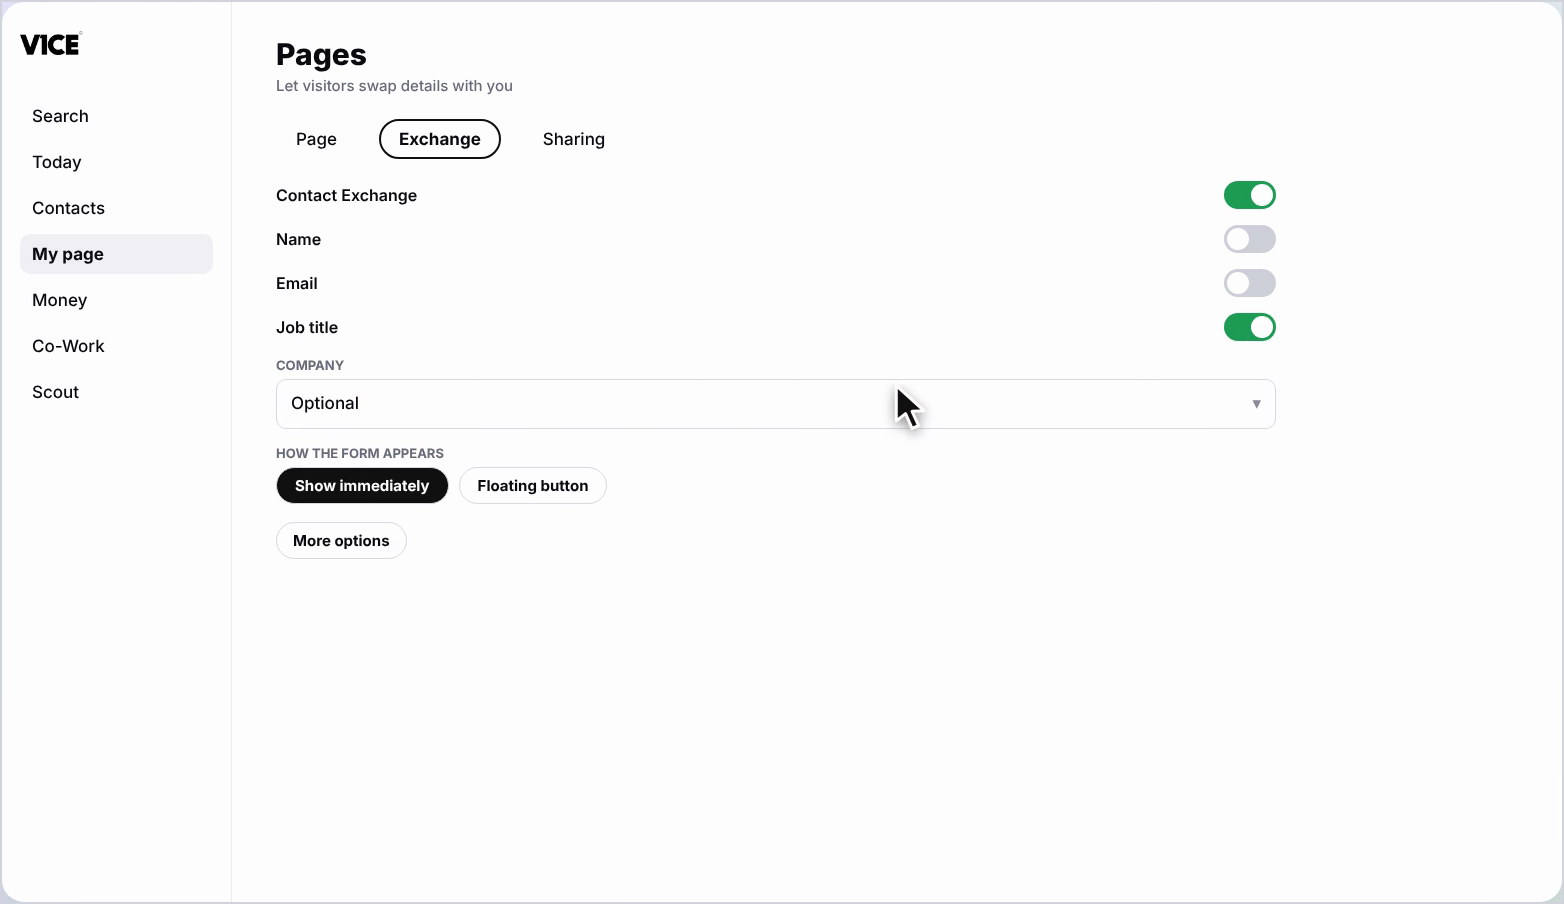
Step 5: Make a field optional or required
Use the dropdown next to a field to make it optional or required, like company.
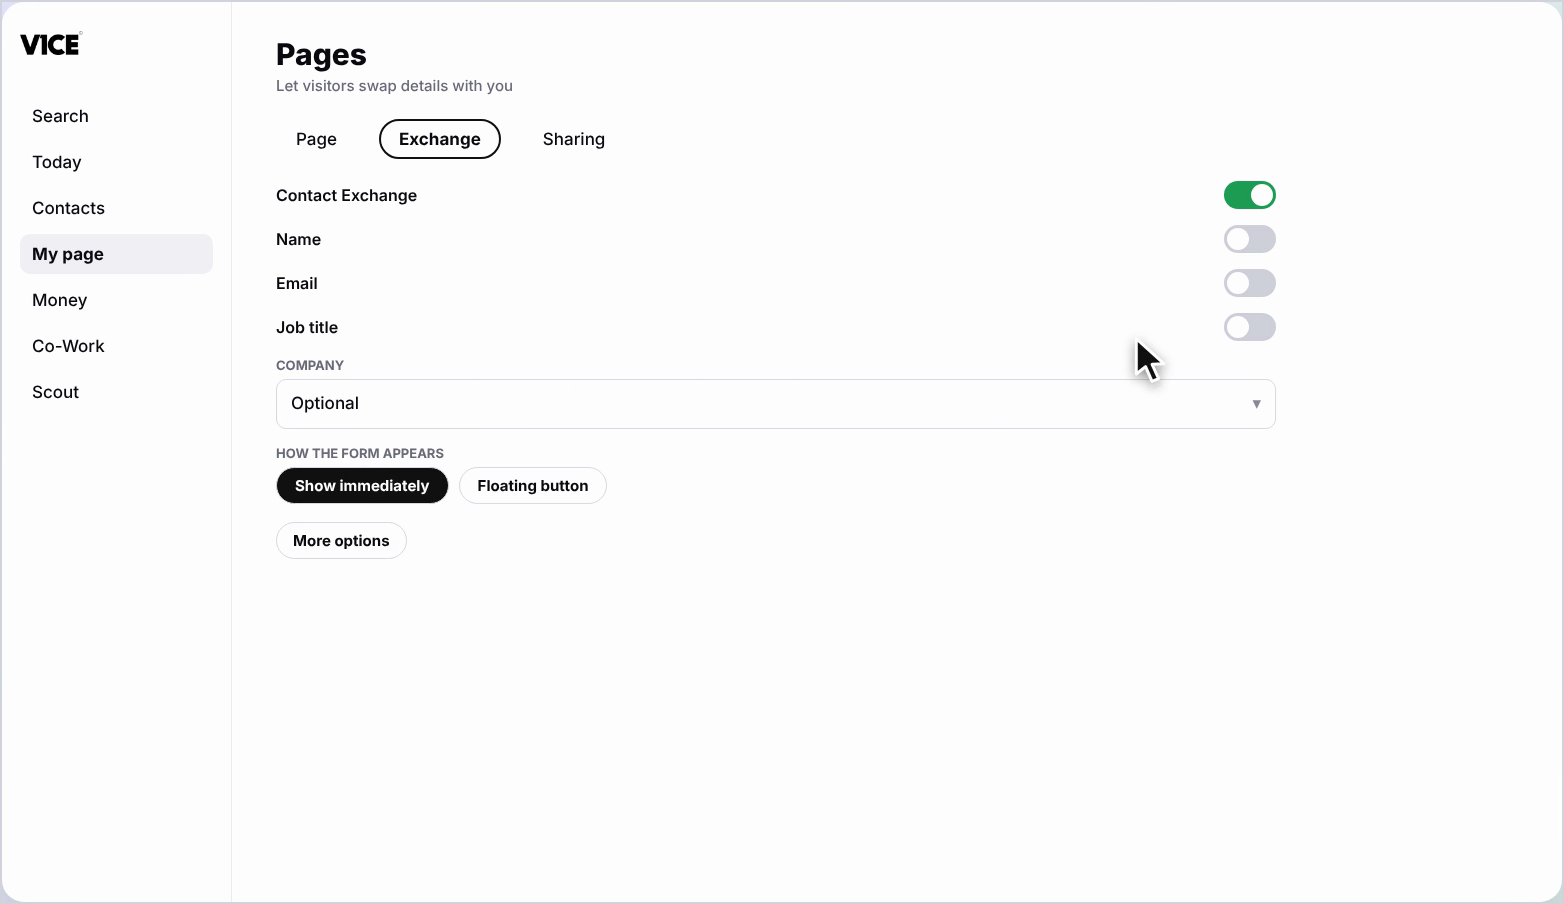
Decide how it appears and what happens next
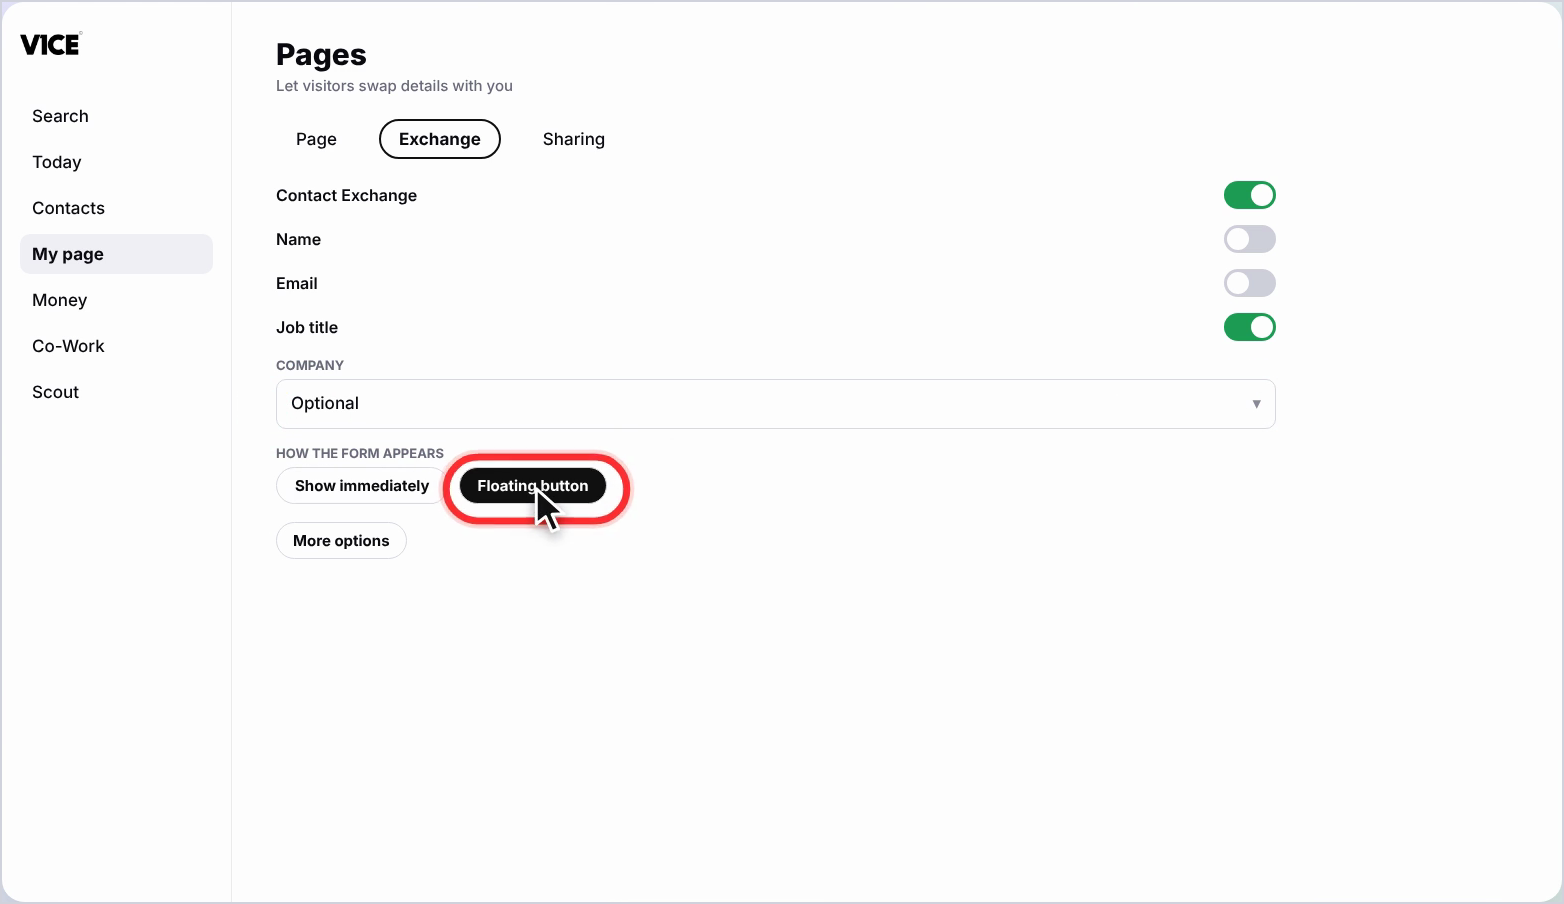
Step 6: Choose how the form appears
Choose Show immediately to ask first, or Floating button to let visitors browse before they share.
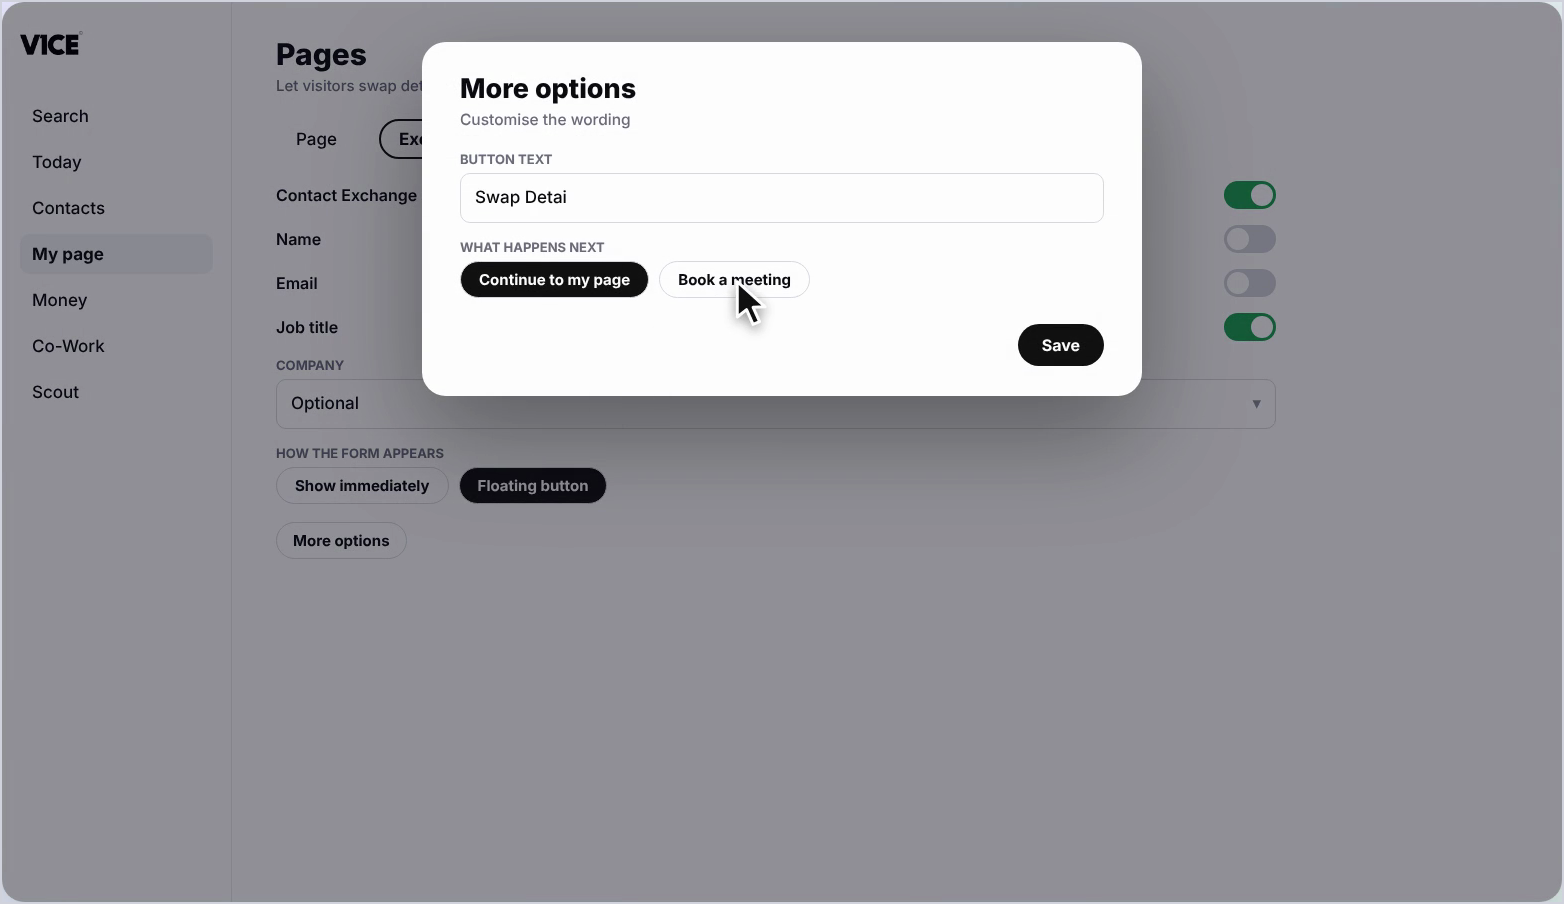
Step 7: Open More options
Open More options to change the button wording and choose what happens after they submit.
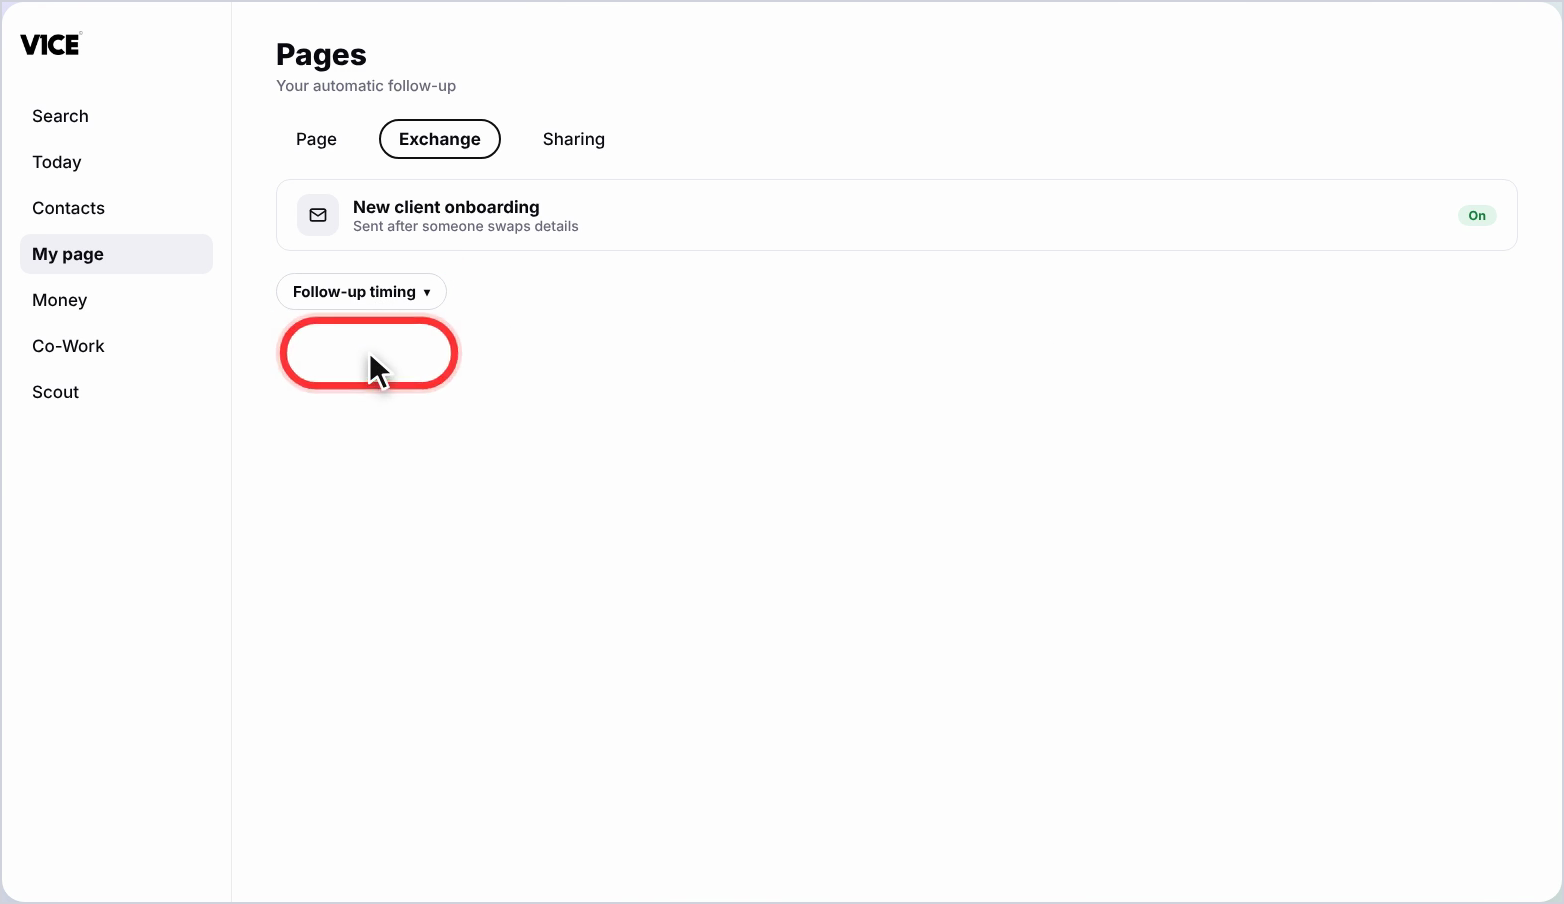
Step 8: Set your follow-up
Finally, choose whether your automatic follow-up goes out immediately.
Good to know
- Every visitor who shares their details is added to your contacts automatically.
- Use a floating button if you do not want the form to appear as soon as someone opens your page.
- Your automatic follow-up can go out the moment someone shares their details.
Frequently asked questions
How do I switch on Contact Exchange?
Open My page, then Pages, select the Exchange tab and turn on the Contact Exchange toggle. Name and email are already on.
Can I ask for more than a name and email?
Yes. Select Show more fields to add extras, like job title, and use the dropdown next to a field to make it optional or required.
How can the form appear on my page?
Choose Show immediately to ask first, or a floating button to let people choose when. Open more options to change the button wording.
What happens after someone shares their details?
You get them in your contacts, and your automatic follow-up goes out. You choose whether it goes out immediately or later.